WiFi signal is a very essential thing for providing internet facilities to any device. This is so needful today that for reading this article on “checking WiFi signal strength”, you should have some particular amount of necessary strength of the signal. Getting the right Wi-Fi signal gives you stress-free internet browsing otherwise you have to, again and again, move here and there to get a good signal strength for your device. Here we will help you to understand everything about the signal strength of WiFi.�
Why Does WiFi signal Strength Matter?
Wi-Fi signals are the backbone of today’s digital world where for attending online classes, business meetings, ordering goods, binge-watching the latest movies and OTT shows, and many other things. All these things require great-speed internet to run at their best. If they don’t run well we may face many issues from an entertainment point of view to financial crises with losing connection with clients in important professional meetings. No one can sustain without having a proper Internet connection that can provide good uploading and downloading speed. Better signal strength gives better surfing speed in turn also giving better results in our particular work.
Many things work as an obstacle for us in getting a good signal strength through our Wi-Fi routers.
- The Router may be present at even a far distance from your underuse device than its range prescribed for use.
- Your house’s wall material affects the type of signal strength the Router gives since some components of the walls like concrete or various types of bricks lower the strength of the signal.
- The type of plan you are using also affects the Wi-Fi signal strength. Like 2.4 GHz internet connection can throw signals to a far distance but the strength of the signal they serve is lower in speed, whereas a 5 GHz internet connection serves high downloading and uploading speed but to a certain short distance only.
Before checking the Wi-Fi signal one should check whether the Router is ok or not. For this one should reboot the Router. If still, the problem persists then test the user device by connecting it with an ethernet connection. If even now you can enjoy the internet of great speed then you should go for checking the Wi-Fi’s signal strength.
What the Wi-Fi Signal Strength Values Mean
The unit of wi-fi signal is dBm or decimal milliwatts with a negative sign in it with a certain magnitude which we, the general users find difficult to understand. So here we will tell you what magnitude of Wi-fi signal strength you should get to experience excellent internet surfing.
The below table tells how good signal strength will you get at a certain magnitude.
| SIGNAL STRENGTH (in dBm) | QUALITY TO EXPECT | Summary |
|---|---|---|
| -30 dBm | This is the best signal strength magnitude you can look for. This you can get by standing next to your Wi-fi router. | Amazing |
| -50 dBm | From -30 dBm to this range, you can get awesome signal strength. | Excellent |
| -60 dBm | This range carries nicely reliable signal strength to the connected device. | Good |
| -67 dBm | This is the minimum value to avail of clear services from all the platforms present on the internet. With this magnitude, you cannot get an experience of high-resolution video quality. | Great |
| -70 dBm | This signal is not so dependable but it can use email and the web pretty nicely. | Average |
| -80 dBm | Minimum magnitude signal strength for an internet connection. Although, You can’t get any online services with this value. | Poor |
| -90 dBm | It will be very difficult to make even an internet connection at this signal strength. | Unusable |
Note: According to this table, -67 dBm is the best magnitude of signal strength to get and -90 dBm is the worst magnitude of signal strength to sustain an internet connection.
How to Measure the Strength of Received Signal?
You can measure the magnitude of signal strength you are receiving with the help of a Wi-Fi scanner. Here you observe it for evaluating the RSSI. Which is short for signal strength indicator while measuring the signal of a wireless network.
If you are having Mac OS then you don’t have to install any software like a Wi-fi scanner. You just have to press Alt and click the Wi-Fi icon on the top menu. This will show you the whole information not only the magnitude of signal strength but also other important aspects of the wireless network to which it is connecting for the services.
You can get a report of the Wi-Fi signal strength of every area of your home with the use of a heatmap. This will group different regions of the home with the speed and signal strength they provide.
Easy Way to Check the Signal Strength
Check on PCs:
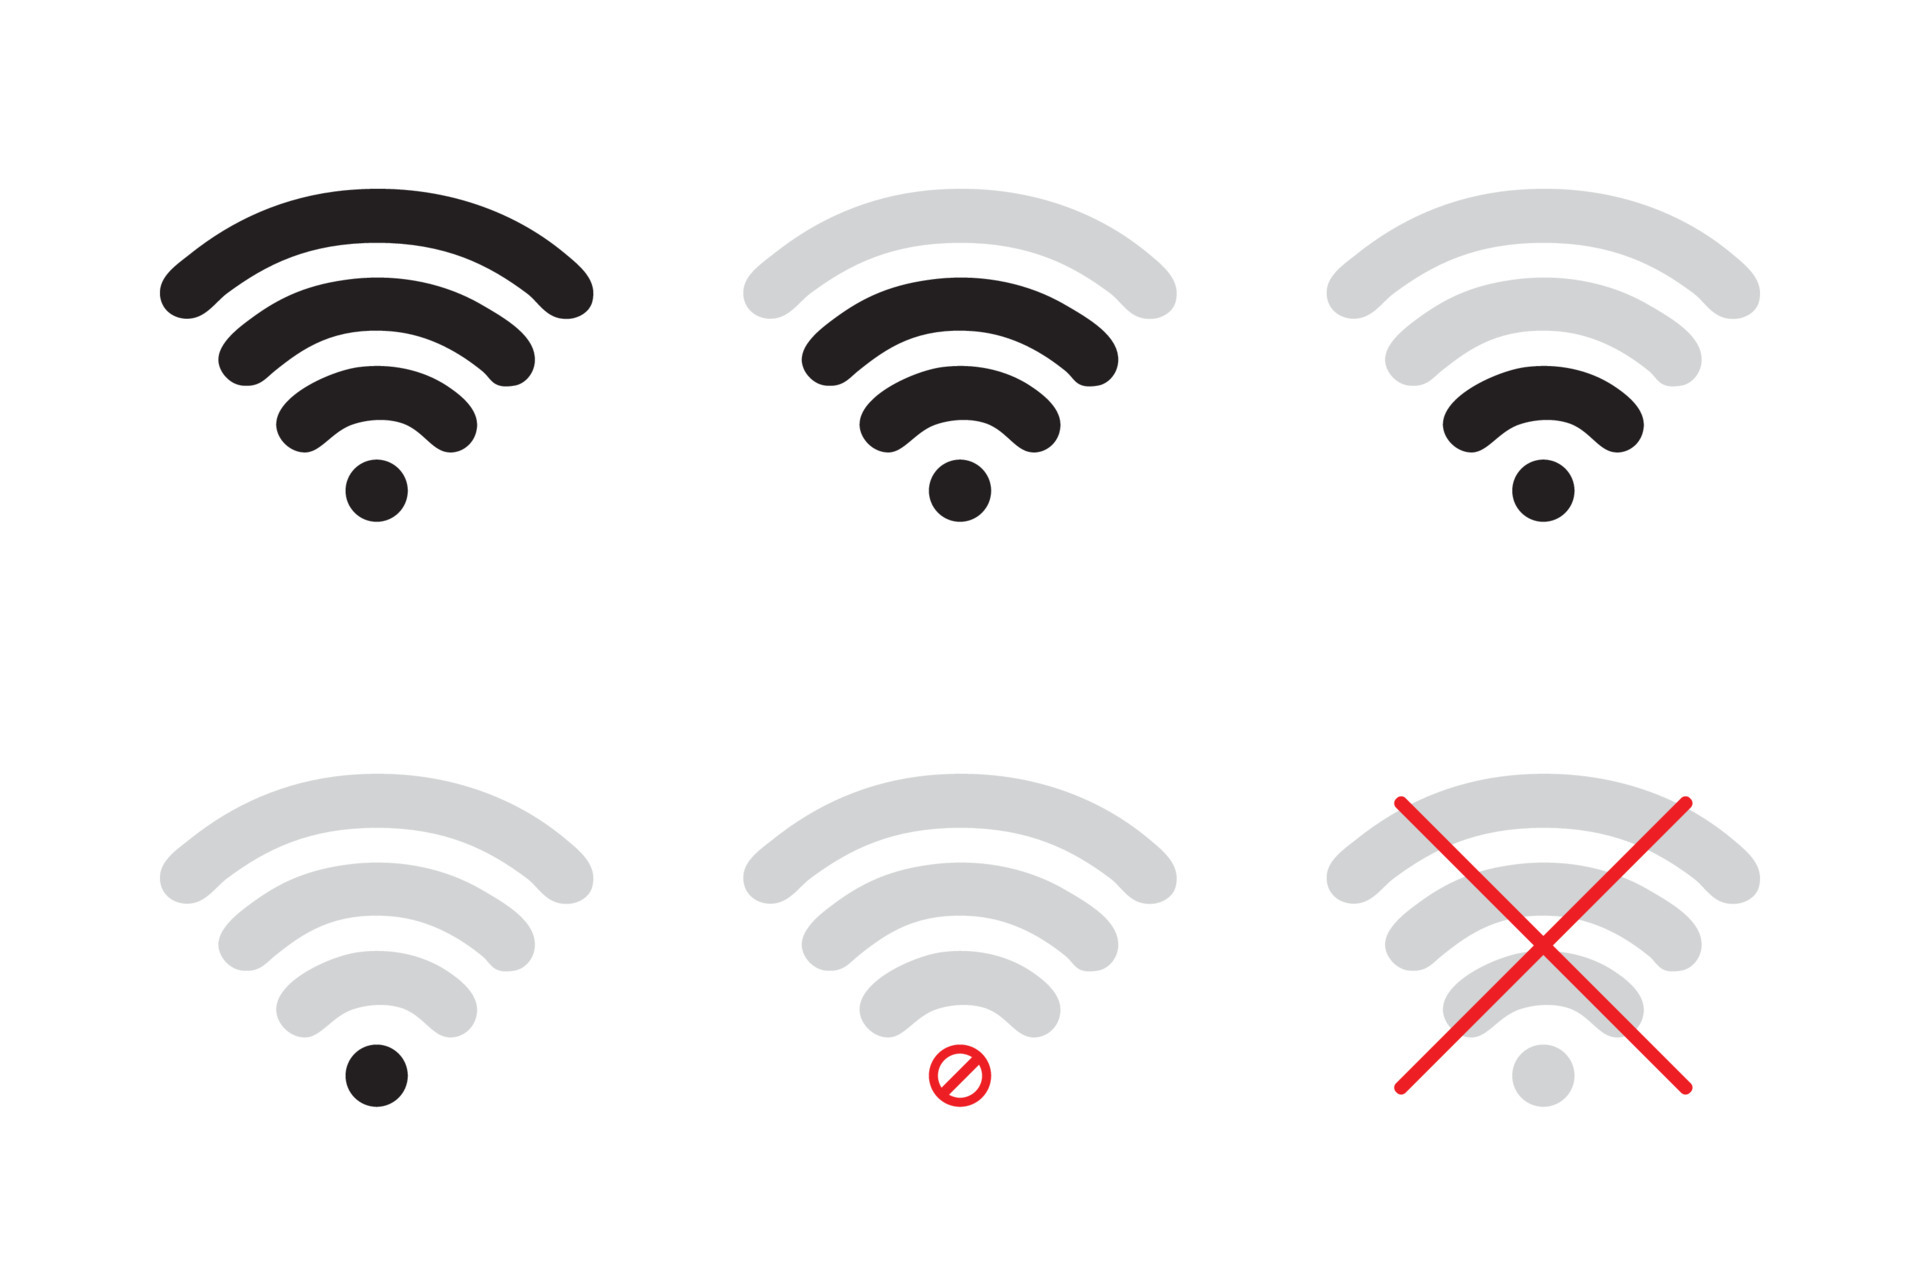
The first thing to check the signal strength is to examine the Wi-fi indicator present in all types of OS systems whether it’s a Mac, Linux, or Windows. It will have curved lines starting from a dot at the bottom. If the number of curved lines increases on your screen it indicates that your system is getting better signal strength in comparison to the one having fewer curved lines.
Check on Phones and Tablets:
After checking the signal strength in the computer system, test it with mobile phones which mostly show the same type of signal strength in every different kind of phone present out there. To be more sure of the magnitude of the network signal you are getting inspect it on any tablet’s Wi-fi indicator. If the signal strength is the same on all the devices then we can get assured if there is some signal problem then it’s because of the router not because of the devices. Since we have done the testing on three different operating devices.
Checking by Moving the Connected Devices:
Move your connected device to various places by going far and close to the Router and also moving in the same distance around the radius taking the router as a center. With this movement keep on checking the variations coming in the signal strength shown by the indicator on the device screen.
This is not the ideal way of checking the signal strength but still, it works many times.
The Advanced Way to Check the Signal Strength
You cannot perfectly rely on the strength of your Wi-Fi which you get by seeing the bars of the indicator. You should use some Applications to check the signal strength more precisely.
Some of the units check the signal strengths accurately.
Using Milliwatts(dBm):-
This is the most accurate unit while checking the signal strength of Wi-Fi. Since it gives precise values up to six decimal places because of this same reason, it is also difficult to read the magnitude of the signal with dBm. This unit has a negative sign with its signal strength magnitude. Because of the negative sign, the large magnitude is recorded as inferior signal strength, and the smaller magnitude is superior to the signal strength.
Using Received Signal Strength Indicator(RSSI):-
This is a nice unit for checking the strength of Wi-fi signals. But most of the time it is found that service providers make mistakes while sharing the strength measurement with this unit.
Due to the issues that come while imperfect reading with RSSI. Nowadays, the providers are firstly converting the RSSI unit signal to a dBm unit and then providing it to the customers.
How to Measure Wi-Fi Signal Strength on Windows OS:
Step 1: Check Wi-Fi signal strength using Command Prompt
- Open Start.
- Search for Command Prompt and click to open the app.
- Type the following command(Enter:
netsh wlan show interfaces) to view the Wi-Fi signal strength.�
Step 2: Check Wi-Fi signal strength using Control Panel
- Open the control panel from the start menu and select Network and Internet. After this go to Network and Sharing Center.
- Right-click the wireless you are using and use the connector Disconnect option in the end.
- The signal strength will be visible to you.
How to Use the Built-in Wi-Fi Signal Strength Utility on macOS
Step 1: Mac OS comes with built-in Wi-Fi strength Utility.
For using it, you have to follow the following steps:-
- Press Command+Shift+G, it brings you the Go to folder window on your screen.
- Enter the path to the Applications:/System/Library/CoreServices/Applications.
- Enter a password(If asked for).
- Click on wireless Diagnostics. A window appears, asking you to run a diagnostic test to determine the present status of your Wi-Fi signal.
- From the Wireless Diagnostics menu bar, select windows then click on Monitor.
Step 2: Using Alt Key
On Mac OS you just have to press the Alt key and click on the Wi-fi icon. This good shows
you all the details of your Wi-fi signal in detail.
How to Improve WiFi Signal Strength?
If you are getting full bars on the Wi-fi indicator or a 60 dBm signal then there is no issue with the strength of the signal that your Router is providing. In this case, maybe the requirement is to increase the frequency of the internet connection by getting a 5.0GHz connection.
If you move a bit far from your router and get an improper internet signal. Then it might be possible that the walls of your house are very thick which is absorbing the signals which your device should get. The second reason here in this scenario is that your Router is old now and it cannot deliver the signals properly the networking company is providing to it. If this is the case replace your Router with one supporting both 2.4 GHz and 5.0 GHz signals.
If your house is big then you should use a mesh Router that has great bandwidth with faster speed in comparison to other Routers.


