
Have you ever faced a situation where you have switched on your Chromecast device and been greeted by the message “Could Not Communicate With Your Chromecast“?
If yes, then you are not the only one experiencing this problem.
Chromecast devices not working could be a frustrating thing. But no worries, because there are several solutions you can try to fix this problem.
The Reason Why ‘Could Not Communicate With Chromecast
When you see this error message “could not communicate with Chromecast” you know that there is something wrong. It could be caused by various reasons. But in most cases, it occurs due to internet connectivity issues.
Before you try any solution, check your WiFi connection. Make sure that your Chromecast device has an internet connection. If needed, you can also restart and update your Chromecast. But if the problem persists, we recommend you reset your device.
Troubleshooting Could Not Communicate With Your Chromecast Error
Now come to the main part where we are going to suggest different solutions. In this section, you will find several fixes to solve this ‘Chromecast could not communicate‘ problem. You can surely find the solution that will solve the issue. So without wasting time, let’s get into the details.
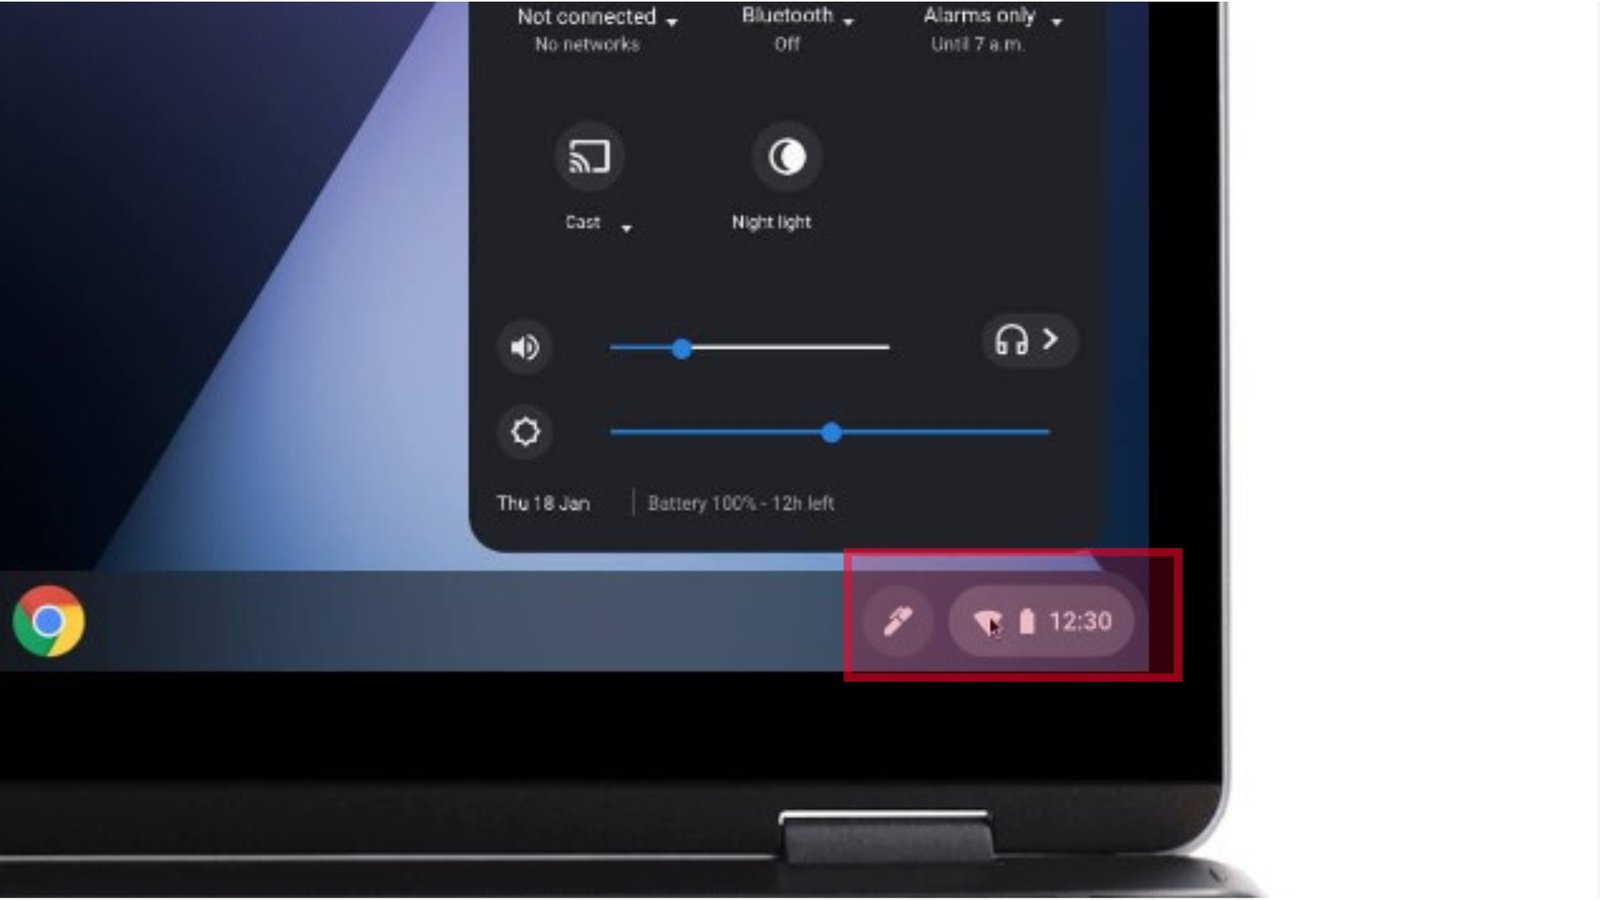
Fix #1: Check Your Wi-Fi Connection:
The very first thing you should do is check your Wi-Fi connection. Check whether your Chromecast is hooked to the Wi-Fi or not.
There could be many reasons why your Chromecast can’t connect to your Wi-Fi. The most common reason could be forgetting to update the password on your Chromecast device after changing your Wi-Fi password.
If you have installed a second Wi-Fi network, your mobile devices and Chromecast may be on separate networks.
Fix #2: Connect Your Chromecast to WiFi:
Connect your Chromecast to the Wi-Fi and plug the device into your TV.
Now launch the Google Home app.
However, if you are yet to set up your device, tap the Add button located in the top left corner of the Google Home app. Go to the option “Set up device” and select “New device”. This will make your phone search for your Chromecast device. Follow the on-screen instructions to complete the setup.
Once you are done with the setup, tap on the device on your Google Home app, and go to “Settings”. Then select Wi-Fi, choose the right network, and use your credentials to hook up your Chromecast.
If you want to change the password or your Chromecast is already connected to a network, select the “Forget” option and then tap the option “Forget this Network”.
Fix #3: Fix Chromecast Communication Error:
This is yet another easy way to solve this problem. Make sure that you connect both your mobile device and Chromecast to the same network. Forget the network on your Chromecast device and reconnect using the right credentials.
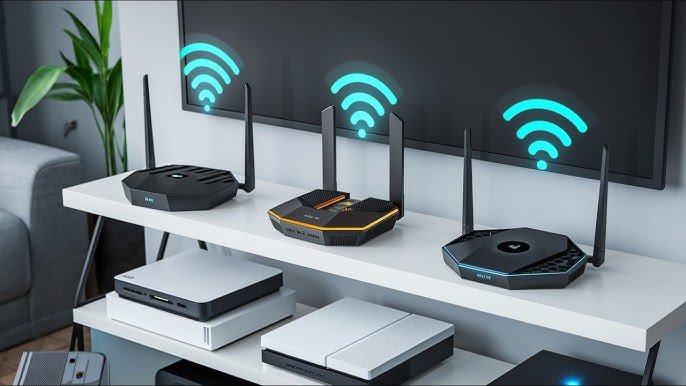
Fix #4: Check and Adjust your Router Channels:
Modern routers let you switch between different wireless channels that they run on. In most cases, the default channel setting is ‘Auto’. But sometimes, interference can occur.
Access your router’s settings and locate the options ‘Wireless’ and ‘Channel and SSID’ The menu names can vary from router to router.
Now search for the ‘channel’ field. If it is set to ‘Auto’ change it to any of the available options. However, if the issue persists, try switching between different channels, so you can find the one with the least interference.
Wi-Fi channels 11, 6, and 1 are non-overlapping and that’s why it is said that Chromecast will work best on these channels. But this is only an assumption.
Ensure that you are not using the same channel as your neighbor. This will help you improve the performance of your Chromecast and give you increased WiFi speeds and coverage.
Fix #5: Use the HDMI Extender of Your Chromecast:
Sometimes your Chromecast fails to detect the network signal. For instance, if you connect your Chromecast to your TV, the signal may not be able to reach you. In this case, you should use the HDMI extender cable that is provided with your Chromecast device.
The HDMI extender is about two inches long and it gives your Chromecast a little extra space behind the TV. This helps the Chromecast catch network signals easily.
Fix #6: Restart Your Router/Modem:
If you have got no results even after trying all the above solutions, you should restart your modem/router.
Sometimes even a simple restart can fix things effortlessly. All you need to do is switch off your router/modem and cut out the power supply.
Once you disconnect your router/modem, wait for at least 10 seconds before switching on the power. Wait for a minute before reconnecting the router/modem to your Chromecast.
Fix #7: Chromecast on 5 GHz WiFi:
For those who don’t have an idea, WiFi networks run over two frequency bands including 2.4GHz, and 5GHz.
First-generation Chromecasts are not compatible with the 5GHz band. As far as 2nd generation Chromecasts are concerned, they can operate over 5 GHz WIFi, but you may find it difficult to connect.
If you forcibly try to connect your Chromecast with the 5GHz band, it could give rise to connection issues. This problem may also arise when your Chromecast device is compatible, but the other device you are using to connect it is not. But this problem can be solved.
Here is what you need to do:
- First, disable the 5GHz band on your router.
- Change the name 2.4GHz band to whatever the 5GHz is named.
- Now use your phone to set up your Chromecast and hook it to the new 5GHz network.
- Once you are done with the setup, unplug your Chromecast.
- Now change the name of the 2.4 GHz network back to its original name.
- Next, enable the 5GHz band on your router and plug the Chromecast back in.
- The Chromecast will not get hooked to the 5GHz band.
This solution will work only if the passwords for both the 2.4GHz and 5GHz bands are the same.
Fix #8: Update the Firmware:
Keeping your Chromecast firmware up-to-date helps you to get the most out of your device. The good thing is that the updates are usually pushed out by Google automatically. But the updates are not released at once. Instead, they are staggered, and therefore, it may take a bit longer for the update to get installed. But you can try opting for automatic updates.
To check whether your device is running the latest update, you should follow these steps:
- Open the support page of Google’s Chromecast and search for the latest firmware update.
- Connect your Chromecast and mobile device over the same network.
- Now open the Google Home app to get an overview of your device by just tapping on it.
- Tap the gear icon to access the settings of your device. You can locate it on the top right side of the screen.
- Now scroll down to the bottom and locate the version number of the firmware that your device is running.
- Compare the version number on your device to the one available on the support page. If you see that the version number is newer on the support page, then it means your device is not up-to-date.
To force an automatic update through the Google Home app you should follow these steps:
- Go to the settings page of the device and tap the three dots on the top-right corner of the screen.
- You will be shown many different options. Select the option Reboot to restart your Chromecast.
- This will automatically restart your Chromecast device. At the same time, your device will also try to download the latest firmware version.
- If a new version is available, you will get to see the installation process on your TV.
- After the installation is over check the firmware version of your device to verify that it is running the latest update.
Fix #9: Reset your Chromecast:
If none of the solutions work, then the only option you have is to reset your Chromecast device. This is the last best thing you can do to fix the problem. Once you reset your Chromecast, it will clear all your stored data.
There are two ways to reset your Chromecast. One is through the Google Home app and the second one depends on the generation of the device you are using. You are lucky because we will discuss both methods here. You can follow the method that you find more convenient.
Resetting using the Google Home App:
- The first thing you need to do is access the device settings.
- Tap the three dots located on the top-right side of your screen.
- Now select the Factory reset option shown on the screen.
- You should be informed that this method will work only if you are using the same network on which your Chromecast device was set up.
The next method depends on the generation of the device.
For First-Generation Devices:
- Connect your Chromecast to the TV.
- While your Chromecast is connected, press and hold the button on the device for about 25 seconds. By this time the solid LED light will start flashing red.
- When your TV goes blank and the LED light starts blinking white, release the button.
- This will restart your device.
For the second and Third-Generation Devices:
- First, connect your Chromecast device to your TV.
- Now press and hold down the button for several seconds or until the solid LED light starts blinking orange.
- Once the LED turns white, you can release the button and your device will restart.
- After you are done with all the steps, you can set up the Chromecast device just like you did the first time. It would be better to use a new or different device when setting it up again.
Additional Bonus Tips If Could Not Communicate With Chromecast Work
Here are some extra tips you can follow to solve the “could not communicate with your Chromecast” error.
#1. Verify Your Linked Google Account
Make sure you are using the same Google account that you used when setting up your Google Home App. Using different accounts can lead to issues like “cannot communicate with Chromecast.”
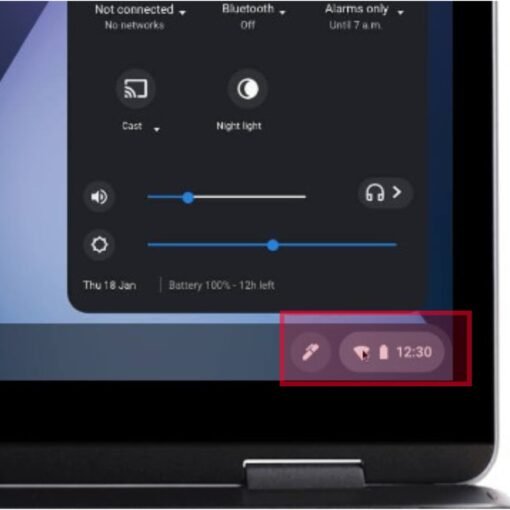
#2. Turn on the Bluetooth Function
By switching on Bluetooth on your iPhone or Android phone, you can re-establish your Google Home.
#3. Enable the Airplane Mode
Many of you may not know this but activating the Airplane mode can solve many Google Home errors. Once you enable the Airplane mode, switch on your Wi-Fi. This will automatically disable the Airplane mode. After that, you can launch your Google Home App to initiate Google Home speakers.
#4. De-install Google Home App
You can also try uninstalling and reinstalling Google Home App. In some cases, this simple solution can fix the “could not communicate with your Chromecast” error.
#5. Check the Number of Devices Connected to your Modem
This problem could arise when you allow too many devices on your modem. In that case, you will have to remove the additional devices to resolve the issue.
Frequently Asked Questions
Q1. Where is the reset button on a Chromecast device?
Ans: You need the reset button to reset your Chromecast device. It is a tiny black-colored button located below the micro USB port. To reset your Chromecast device, you must press and hold the button for at least 25 seconds.
Q2. What causes the “could not communicate with your Chromecast” error?
Ans: One of the main causes that could lead to this problem is internet connectivity issues. This is why you are recommended to check the Wi-Fi connection on your Chromecast device.
Q3. Do you need internet for Chromecast?
Ans: The answer is both yes and no. It is possible to use Chromecast on devices without any internet connection. In this case, it will just mirror the device’s screen. However, the internet connection is still required to operate in Guest Mode.
Conclusion on Could not Communicate With your Chromecast
If you are experiencing a “could not communicate with your Chromecast” problem, you can try any of these solutions to handle the issue. Out of all the mentioned solutions, you will surely find a method that will work for you. Hopefully, you found this article helpful.
